
Imagine you are sitting comfortably at home; your favorite music is playing while you are giving yourself the gel manicure.
Sounds fun. Right?
No appointment is needed, no hefty salon bill, and best of all, no smudges. Learning how to apply gel nail polish at home can be a complete game-changer for anyone.
If you love having flawless nails, then with the right tips, your at-home manicure will appear to have a professional finish.
But let’s face it: gel polish can be tough to apply. One wrong move and you are left with streaky, lumpy nails or a manicure that chips in days.
However, by following the proper techniques, you can achieve glossy, long-lasting nails worthy of a social media post.
In this article, you will learn the five essential tips for applying perfect gel nail polish at home.
1. Invest in a Quality Nail Lamp

The type of nail device you use can make all the difference in achieving a perfect gel manicure. Investing in high-quality LED or UV lamps ensures your gel nail polish dries quickly and properly.
With the right lamp by your side, you can achieve a salon-like finish that looks classy and lasts longer.
LED vs. UV Lamp
- Although these two lamps cure gel polish, LED lamps are much quicker and safer than UV lamps.
- The LED lamp can cure your polish in 30-60 seconds, while a UV lamp might take 2-3 minutes.
- LED lamps also produce less heat compared to UV lamps, which reduces your hand’s exposure to harmful radiation.
2. Prep Your Nails
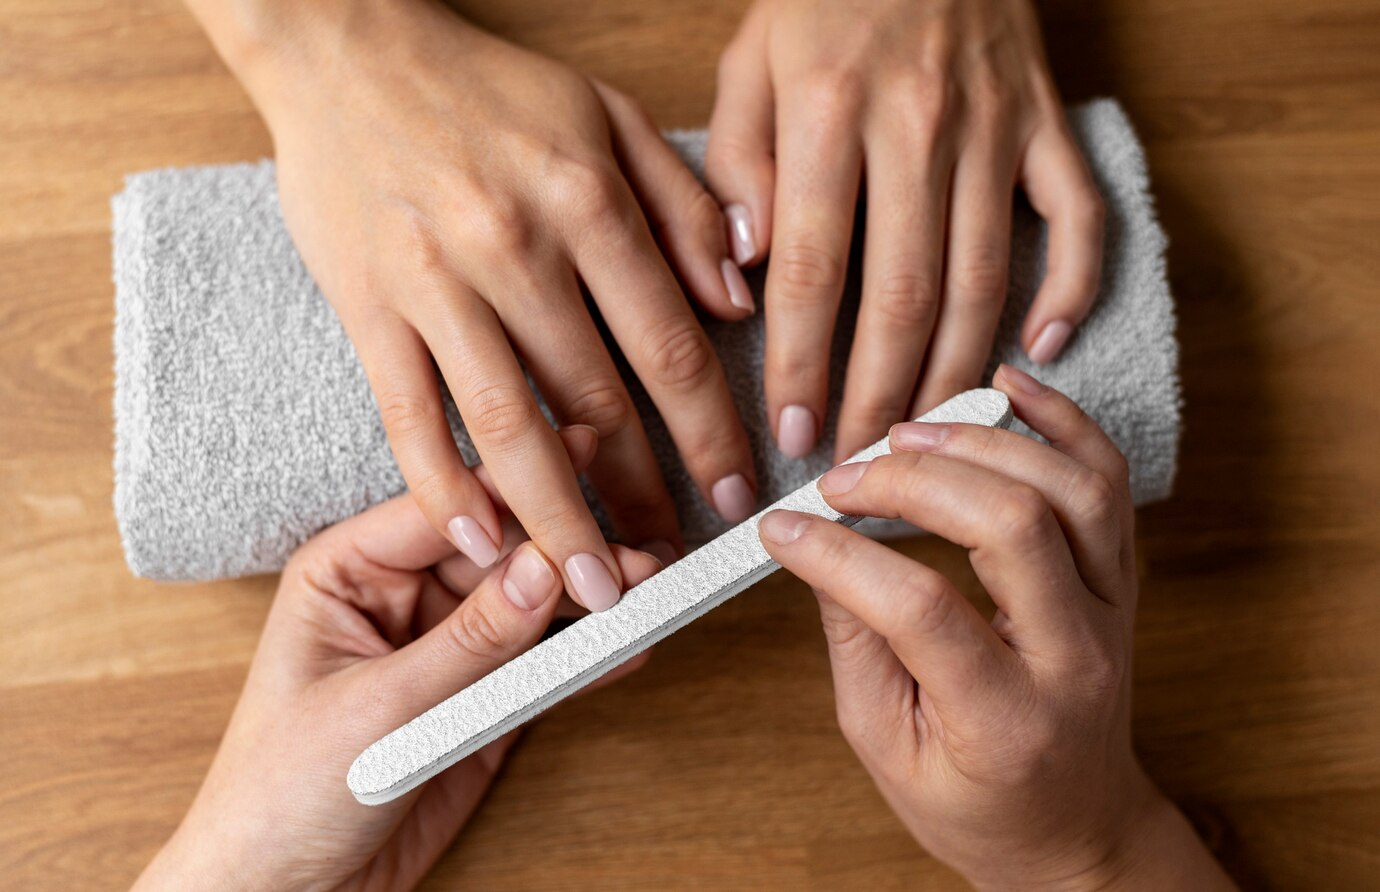
Prepping your nails the right way ensures your gel nail polish lasts for weeks without chipping. Neglecting or skipping this step might result in the lifting or peeling of nails.
Here are a few steps that you can adhere to before applying the gel nail polish.
- Clean and File Your Nails: Clean your nails using a non-acetone remover and shape them with a nail file or clipper.
- Pull Back Your Cuticles: Gently pull back your cuticles with a cuticle pusher. Avoid cutting them unless necessary, as they act as a protective barrier.
- Buff Your Nail Surface: Buff your nail surface to remove oil and create a smooth surface, which allows the gel polish to stay.
- Dry Your Nails: Ensure to cleanse your nails with a nail cleanser or even alcohol wipes. This will remove the moisture from the surface of the nail.
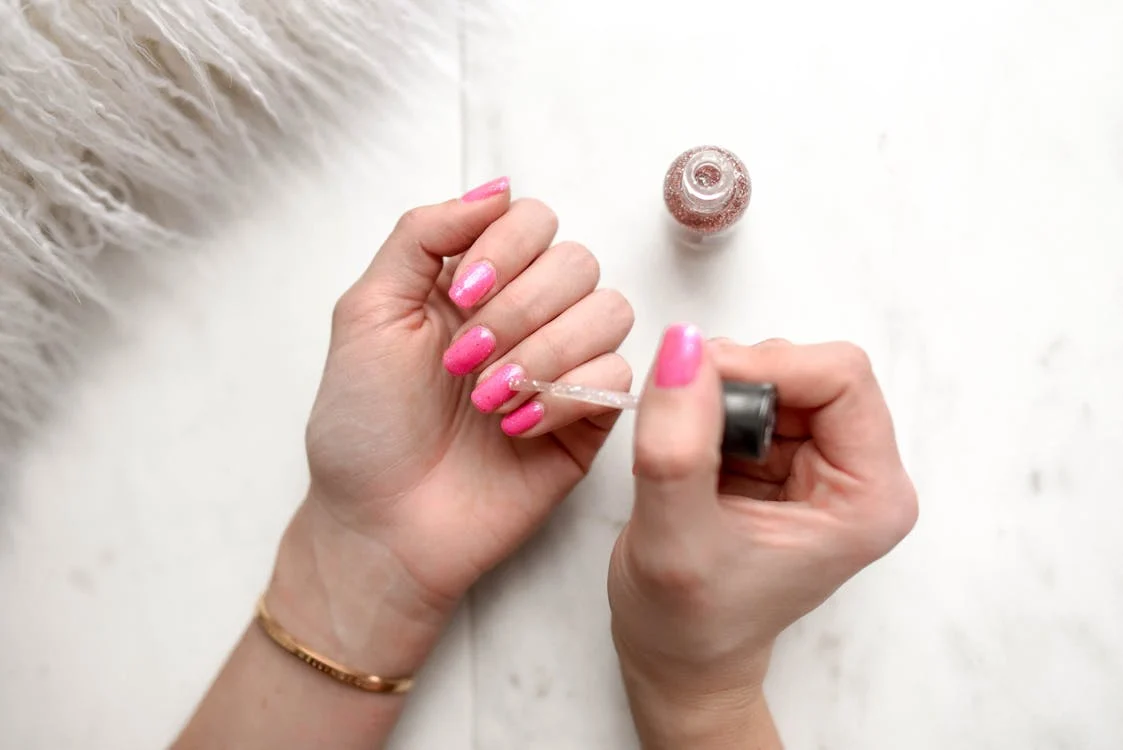
3. Apply Thin Layers of Gel Polish
The biggest mistake while applying gel polish is using thick layers. Thick layers take more time to cure and can lead to bubbles or uneven streaks.
Here’s how to avoid it:
- Apply a Thin Base Coat: The base coat is fundamental in creating a surface to which the gel polish can adhere.
- Apply Even Color Coats: Apply 2-3 thin layers of color polish to get wrinkle-free finish.
- Pay Attention to the Edges: Always brush a small amount of gel polish along the tip of your nails to cap the edges, creating a protective layer to prevent chipping.
4. Use a No-wipe Topcoat for a Glossy Look
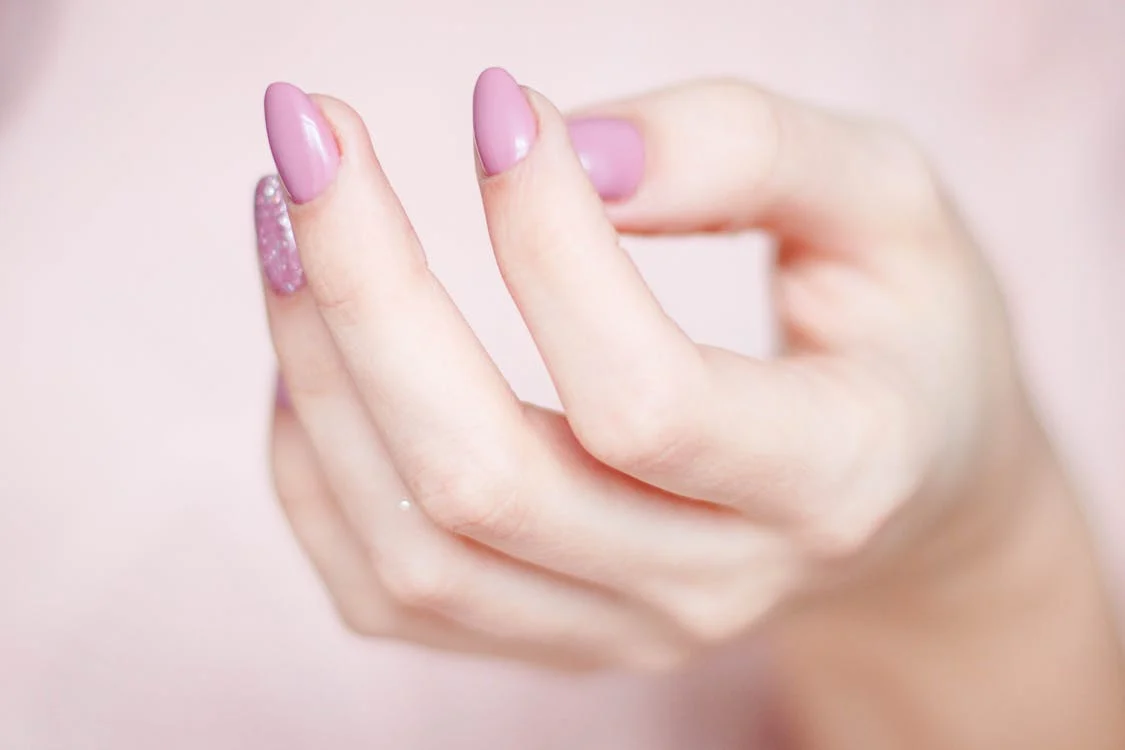
The topcoat is responsible for giving that extra shine to your gel nails, extending the life of your manicure.
Some topcoats require you to wipe off the tacky layer after curing, while no-wipe topcoats simplify the process. It fully dries under the lamp without leaving behind a sticky residue.
Moreover, no wipe coat is the perfect choice if you are accessorizing your nails with glitter or gems. It is because you do not have to wipe your nails after the application, hence retaining the accessories.
5. Master the Curing Process
Gel polish curing involves using your nail device, i.e., UV or LED lamps that harden gel nail polish.
Through a process called polymerization, it ends up creating a long-lasting layer of gel polish that resists chipping and wear.
Follow these tips to cure your nails in the right way:
- Take Your Time: Cure your nails as recommended by the gel polish brand’s instructions. If your nails still feel sticky after you have finished curing, they may need more time.
- Cure Each Layer: After applying each layer of gel polish-base, color, and topcoat-cure your nails under the LED lamp. This allows each layer to take sufficient time to set, providing you ease while applying the next layer.
After the curing process, moisturize your nails with cuticle oils, keeping them from drying out and cracking to get a glossy look.
Bottomline
Giving yourself a manicure at home might seem challenging, but with the correct procedure, it is doable.
With the help of the tips mentioned, like preparing nails, purchasing good nail devices, applying thin layers, topcoat, and gel polish curing, you can become a professional in no time.
Therefore, grab your gel polish and follow these tips to achieve a flawless at-home gel manicure!